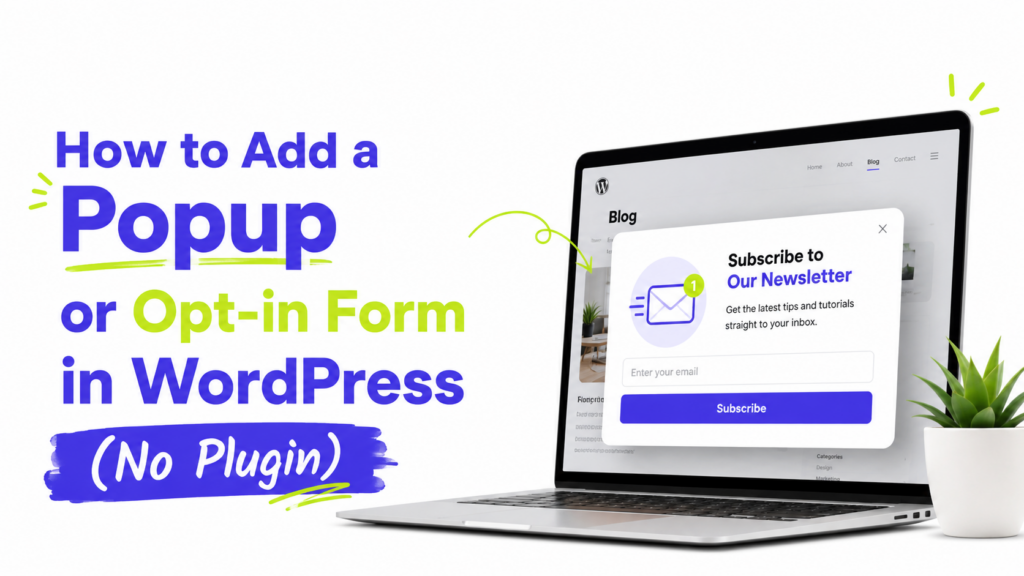
Popup plugins are everywhere, and most of them are heavier than they need to be. If all you want is a simple opt-in popup, a code-based approach gives you the same result with none of the extra weight, and no subscription to manage.
In this guide, I’ll show you how to add a popup or opt-in form in WordPress using nothing but a Custom HTML block or a small snippet in your child theme, no plugin required. It’s more hands-on than installing a plugin, but it’s genuinely approachable, and you’ll end up with a lighter, faster site. Let’s build it.
Why Skip the Plugin?
Before diving in, here’s why this route is worth considering:
- Performance. Popup plugins often load their own CSS and JavaScript site-wide, even on pages without a popup. A custom-coded popup only loads what it needs.
- Simplicity. You control exactly when and how it appears, without digging through a plugin’s settings menu.
- No subscription creep. Many popup plugins gate their best features behind a paid tier. Code gives you full control for free.
If you’d rather not touch code at all, that’s a completely reasonable choice too, and a lightweight popup plugin is a fine alternative. But if you’re comfortable pasting a snippet, this method is lighter and faster.
Step 1: Set Up a Child Theme
Before adding any code, make sure you’re working in a child theme so your changes survive future theme updates. If you already have one, skip ahead.
Step 2: Add the Popup HTML
The simplest way to add the popup markup is through a Custom HTML block on the page where you want it, or globally via your theme’s footer. Here’s a simple structure:
<div id="tp-popup" class="tp-popup-overlay">
<div class="tp-popup-box">
<button id="tp-popup-close" aria-label="Close">×</button>
<h3>Get our free templates</h3>
<p>Join our list and get new free templates first.</p>
<form id="tp-popup-form">
<input type="email" placeholder="Your email" required>
<button type="submit">Subscribe</button>
</form>
</div>
</div>Step 3: Style It With CSS
Add this under Appearance → Customize → Additional CSS, or in your child theme’s stylesheet:
.tp-popup-overlay {
    display: none;
    position: fixed;
    inset: 0;
    background: rgba(0,0,0,0.6);
    z-index: 9999;
    align-items: center;
    justify-content: center;
}
.tp-popup-overlay.is-visible {
    display: flex;
}
.tp-popup-box {
    background: #fff;
    padding: 32px;
    border-radius: 12px;
    max-width: 420px;
    text-align: center;
    position: relative;
}
Feel free to adjust colors and spacing to match your brand. Our guide on WordPress color palette ideas can help you choose a scheme that fits.
Step 4: Control When It Appears With JavaScript
This is the part that makes it feel intentional rather than intrusive. A time-delay popup (showing after a few seconds) is simple and beginner-friendly:
document.addEventListener('DOMContentLoaded', function () {
  const popup = document.getElementById('tp-popup');
  const closeBtn = document.getElementById('tp-popup-close');

  if (!localStorage.getItem('tp-popup-dismissed')) {
    setTimeout(function () {
      popup.classList.add('is-visible');
    }, 8000);
  }

  closeBtn.addEventListener('click', function () {
    popup.classList.remove('is-visible');
    localStorage.setItem('tp-popup-dismissed', 'true');
  });
});
This shows the popup after 8 seconds, and remembers if a visitor already dismissed it so it won’t nag them again on their next visit. Add this script through the Custom HTML block (wrapped in <script> tags) or enqueue it properly from your child theme’s functions.php.
Step 5: Connect the Form to Capture Emails
The popup itself is just the container, you still need somewhere for those emails to go. The cleanest no-plugin option is to point the form at your email service provider’s own signup endpoint. Providers like Mailchimp or MailerLite provide a plain HTML form action you can drop in. Alternatively, pair this popup with a lightweight form plugin like WPForms Lite just for the submission handling, while keeping the popup itself code-based.
When (and When Not) to Show a Popup
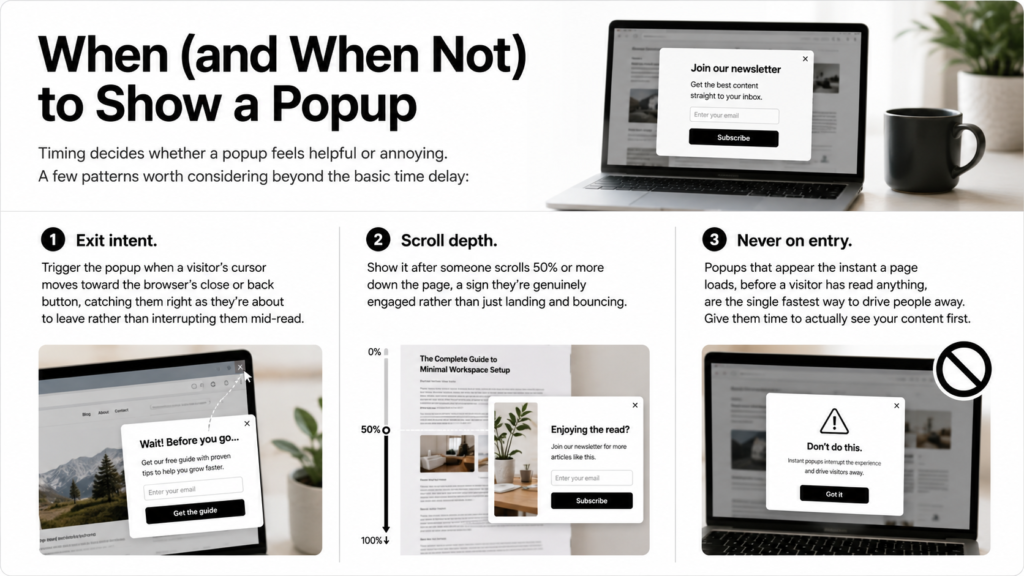
Timing decides whether a popup feels helpful or annoying. A few patterns worth considering beyond the basic time delay:
- Exit intent. Trigger the popup when a visitor’s cursor moves toward the browser’s close or back button, catching them right as they’re about to leave rather than interrupting them mid-read.
- Scroll depth. Show it after someone scrolls 50% or more down the page, a sign they’re genuinely engaged rather than just landing and bouncing.
- Never on entry. Popups that appear the instant a page loads, before a visitor has read anything, are the single fastest way to drive people away. Give them time to actually see your content first.
A Few Common Questions
1. Is a code-based popup really better than a plugin? For a simple, single-purpose popup, yes, it’s lighter and faster since it only loads what it needs. For advanced targeting rules or A/B testing, a dedicated plugin may be worth the extra weight.
2. How do I make the popup only show once per visitor? Use localStorage (as in the example above) to remember when a visitor closes it, so it won’t reappear on their next page view. This is the standard, plugin-free way to handle it.
3. Will a popup hurt my site’s user experience? It can, if it’s aggressive or shows too soon. A time delay of several seconds, or triggering on exit intent instead of immediately, keeps it from feeling intrusive.
4. Can I use this same method for a cookie notice or announcement bar? Yes. The same HTML, CSS, and JavaScript pattern works for any one-time message, just adjust the content and styling to fit.
Add a Popup or Opt-in Form in WordPress the Lighter Way
You don’t need a heavy plugin to add a popup that actually converts. A Custom HTML block, a bit of CSS, and a short JavaScript snippet give you full control with none of the bloat, and a localStorage check keeps it from being annoying to repeat visitors.
Start with the time-delay version above, connect it to your email provider, and adjust the timing based on how visitors respond. For more ways to grow your list, see our tips on landing page copywriting that gets those popups clicked.