So you installed a free theme, activated it, and… it still doesn’t quite look like the demo you fell for. The colors are off, the logo spot is empty, and there’s a stranger’s placeholder text where your tagline should be.
Here’s the good news: you can customize a free WordPress theme and fix all of that without writing a single line of code. WordPress gives you a built-in visual editor for exactly this, and most free themes are built to be customized by people who have never seen a stylesheet in their life.
In this guide, I’ll show you how to customize a free WordPress theme by changing your logo, colors, fonts, menus, and homepage layout using nothing but your mouse. By the end, your site will actually look like the one you pictured. Let’s dig in.
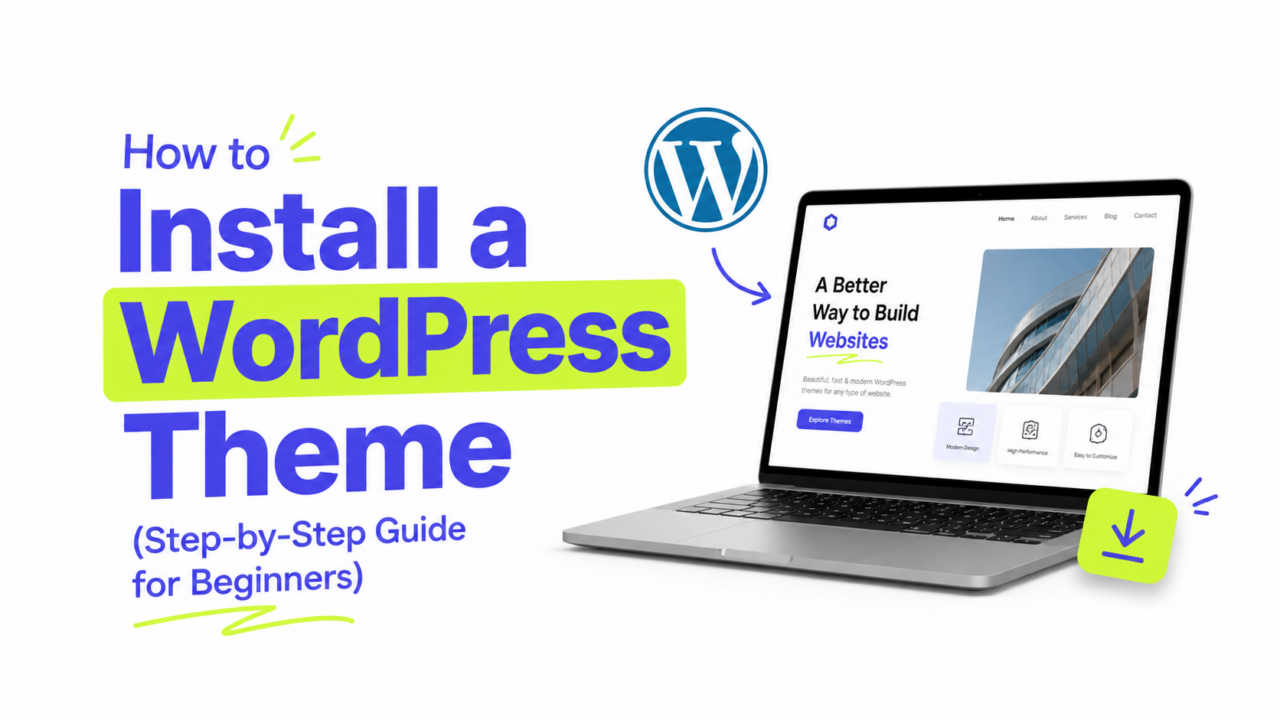
If you haven’t set up your theme yet, start with our guide on how to install a WordPress theme, then come back here.
Where to Customize a Free WordPress Theme
WordPress has two main places to customize a theme without code, and which one you see depends on your theme.
The Customizer (older, still everywhere). Go to Appearance → Customize. You get a live preview of your site on the right and a panel of options on the left. Change something, watch it update instantly, and hit “Publish” when you’re happy. Most free themes still use this, and you can read WordPress’s own guide to the Customizer if you want the official reference.
The Site Editor (newer, for “block” themes). Go to Appearance → Editor. This is a more visual, drag-friendly experience that some modern free themes use instead.
Not sure which one you have? Open Appearance and look. If you see “Customize,” use that. If you only see “Editor,” your theme is a block theme. The core ideas below apply to both, so don’t overthink it.
Step 1: Add Your Logo and Site Title
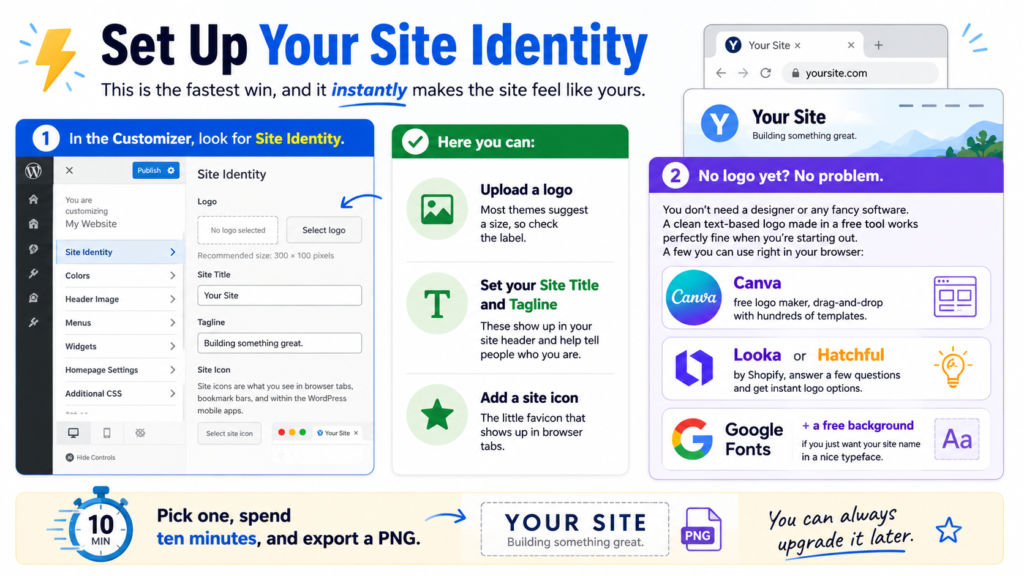
This is the fastest win, and it instantly makes the site feel like yours.
In the Customizer, look for Site Identity. Here you can:
- Upload a logo (most themes suggest a size, so check the label)
- Set your Site Title and Tagline
- Add a site icon (the little favicon that shows up in browser tabs)
No logo yet? You don’t need a designer or any fancy software. A clean text-based logo made in a free tool works perfectly fine when you’re starting out. A few you can use right in your browser:
- Canva free logo maker, drag-and-drop with hundreds of templates
- Looka or Hatchful by Shopify, answer a few questions and get instant logo options
- Google Fonts + a free background if you just want your site name in a nice typeface
Pick one, spend ten minutes, and export a PNG. You can always upgrade it later.
Step 2: Change Your Colors
Nothing makes a free theme feel generic faster than leaving the default colors. Swapping them is one of the highest-impact things you can do.
Look for a panel called Colors or Colors & Background. Depending on your theme, you’ll be able to set:
- A primary/accent color (buttons, links, highlights)
- Background colors
- Header and footer colors
- Text color
A quick tip: don’t go rainbow. Pick one main brand color and one accent, and let the rest stay neutral (white, black, gray). For ready-made combos, see our WordPress color palette ideas. Two colors used consistently look far more professional than six used randomly. If you want help choosing a combo, we have a whole post dedicated to it.
Step 3: Pick Your Fonts
(For a deeper dive, see our full guide on changing fonts in WordPress.)
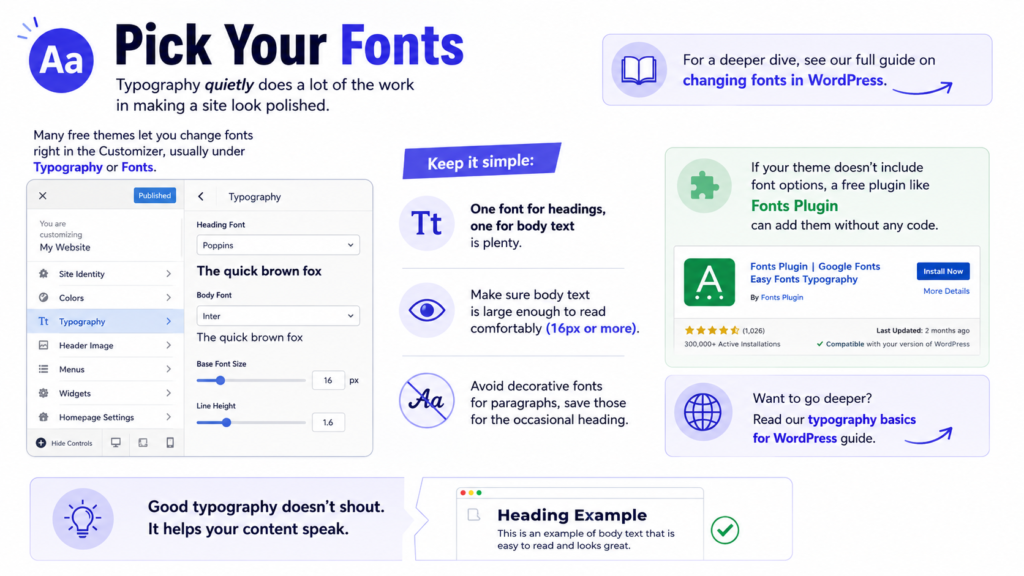
Typography quietly does a lot of the work in making a site look polished. Many free themes let you change fonts right in the Customizer, usually under Typography or Fonts.
Keep it simple:
- One font for headings, one for body text is plenty
- Make sure body text is large enough to read comfortably (16px or more)
- Avoid decorative fonts for paragraphs, save those for the occasional heading
If your theme doesn’t include font options, a free plugin like Fonts Plugin can add them without any code. Want to go deeper? Read our typography basics for WordPress guide.
Step 4: Build Your Menu
Your menu is how visitors get around, so it’s worth setting up properly. In the Customizer, go to Menus (or find it under Appearance → Menus).
Here’s the quick version:
- Click Create New Menu and give it a name (like “Main Menu”)
- Add pages, posts, or custom links to it
- Drag items to reorder them, or nest them to create dropdowns
- Assign it to a location (usually “Primary” or “Header”)
- Publish
Keep your main menu short. Five or six items is the sweet spot. If you’re cramming ten links up there, some of them probably belong in the footer or a dropdown instead.
Step 5: Set Up Your Homepage
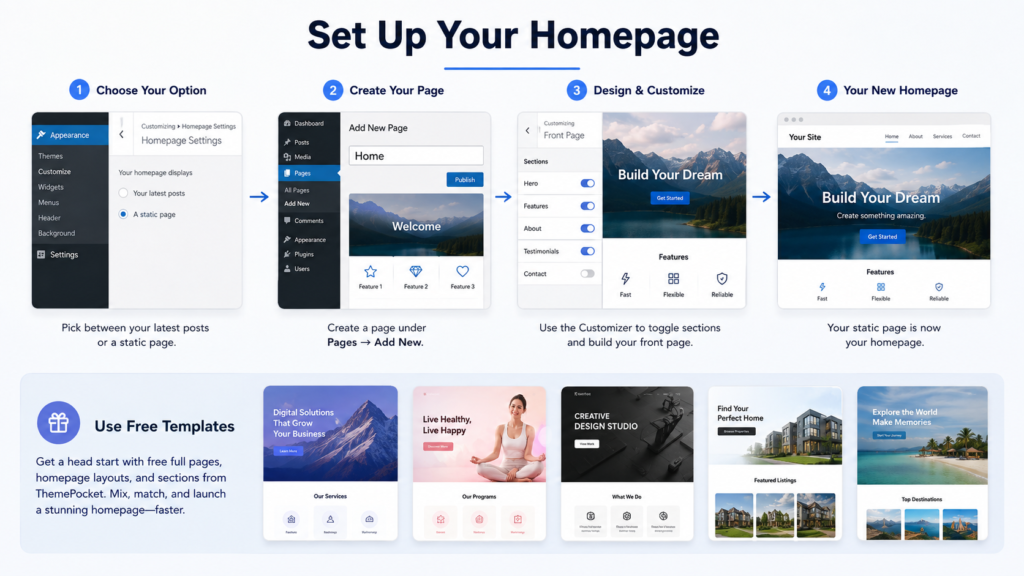
By default, WordPress shows your latest blog posts on the homepage. That’s fine for a pure blog, but if you want a designed landing page, you can change it.
Go to Appearance → Customize → Homepage Settings (or Settings → Reading). You’ll get two choices:
- Your latest posts: a classic blog feed
- A static page: a fixed page you design and set as the front page
If you pick a static page, you’ll first need to create that page under Pages → Add New. Many free themes also include a “front page” template with sections you can toggle on and off (a hero banner, features, testimonials, and so on) right in the Customizer.
If building a homepage from scratch feels daunting, you don’t have to. At ThemePocket we share completely free templates, full landing pages, ready-made homepage layouts, and individual sections you can mix and match. Drop one in and you get a polished starting point to customize, instead of staring at a blank page.
Step 6: Use Widgets to Fill in the Gaps
Widgets are the little blocks that live in your sidebar and footer: search bars, recent posts, social icons, email signup forms, and more.
Find them under Appearance → Widgets or inside the Customizer under Widgets. Drag the ones you want into a widget area, arrange them, and publish. This is a no-code way to add useful features without hunting for plugins.
When You Want to Go a Little Further
Eventually you might want a tweak the Customizer doesn’t offer, like nudging some spacing or hiding one element. You still don’t need to become a developer.
For search visibility, you can also add meta titles and descriptions without a heavy plugin. Additional CSS lives right in the Customizer (Appearance → Customize → Additional CSS). It’s a small box where you can paste snippets, and yes, that technically means touching code, but you can copy working snippets from tutorials without understanding every line. We cover the beginner-friendly version in how to add custom CSS to any free theme.
Page builders like the free version of Elementor give you true drag-and-drop control over layouts, no code at all. They’re powerful, though they can slow your site down if you overuse them, so weigh that before installing one.
A Few Common Questions
1. Will my customizations disappear if I update the theme? Changes made in the Customizer are stored separately and survive updates. Direct edits to theme files do not, which is exactly why the no-code Customizer route is the safe one.
2. Can I preview changes before they go live? Yes. The Customizer shows a live preview, and nothing goes public until you click “Publish.” Experiment freely.
3. I changed something and now it looks worse. How do I undo it? If you haven’t published yet, just exit without saving. If you did publish, change the setting back, most Customizer options can be reset or cleared.
4. My theme barely has any options. What do I do? Some lightweight free themes keep options minimal on purpose. If you’ve outgrown yours, it might be time to browse our best free WordPress themes for one with more built-in flexibility.
Make Your Free WordPress Theme Yours
Learning to customize a free WordPress theme isn’t about knowing code. It’s about knowing where to look, and now you do. Start with your logo and colors, get your menu and homepage sorted, and fill the gaps with widgets. Twenty minutes of clicking is usually all it takes to customize a free WordPress theme into a site that feels genuinely yours.
The best part? Everything you changed today is reversible. So go experiment, you can’t really break anything.