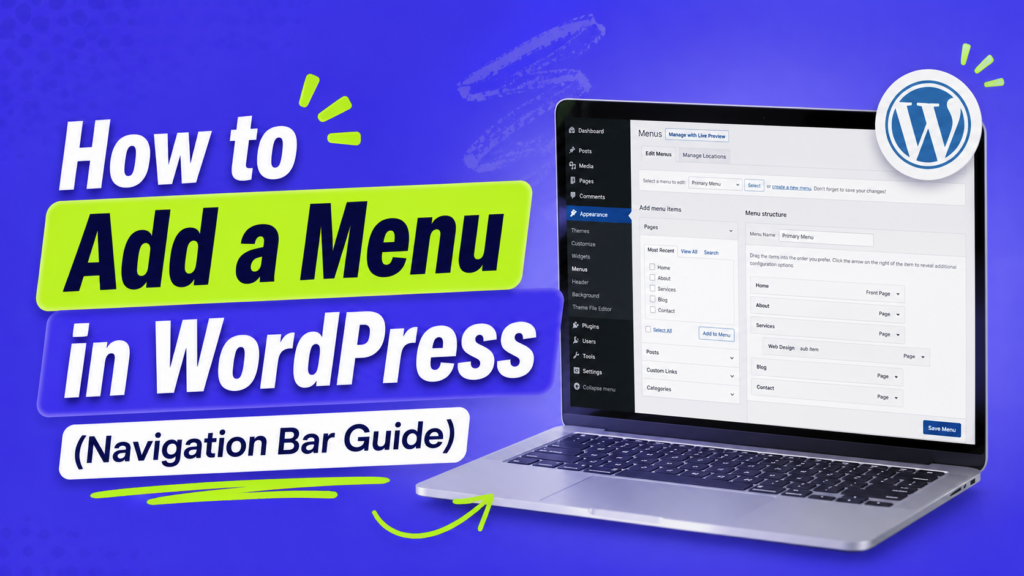
Your menu is the signpost for your whole site. It’s how visitors find your best content, get to your contact page, and decide whether to stick around. Get it right and people move through your site with ease. Get it wrong and they leave confused.
The good news is that you can add a menu in WordPress in just a few minutes, and you don’t need to write any code. In this guide, I’ll show you how to build a menu from scratch, add dropdowns, put it in the right spot, and keep it clean enough that visitors actually use it. Let’s get started.
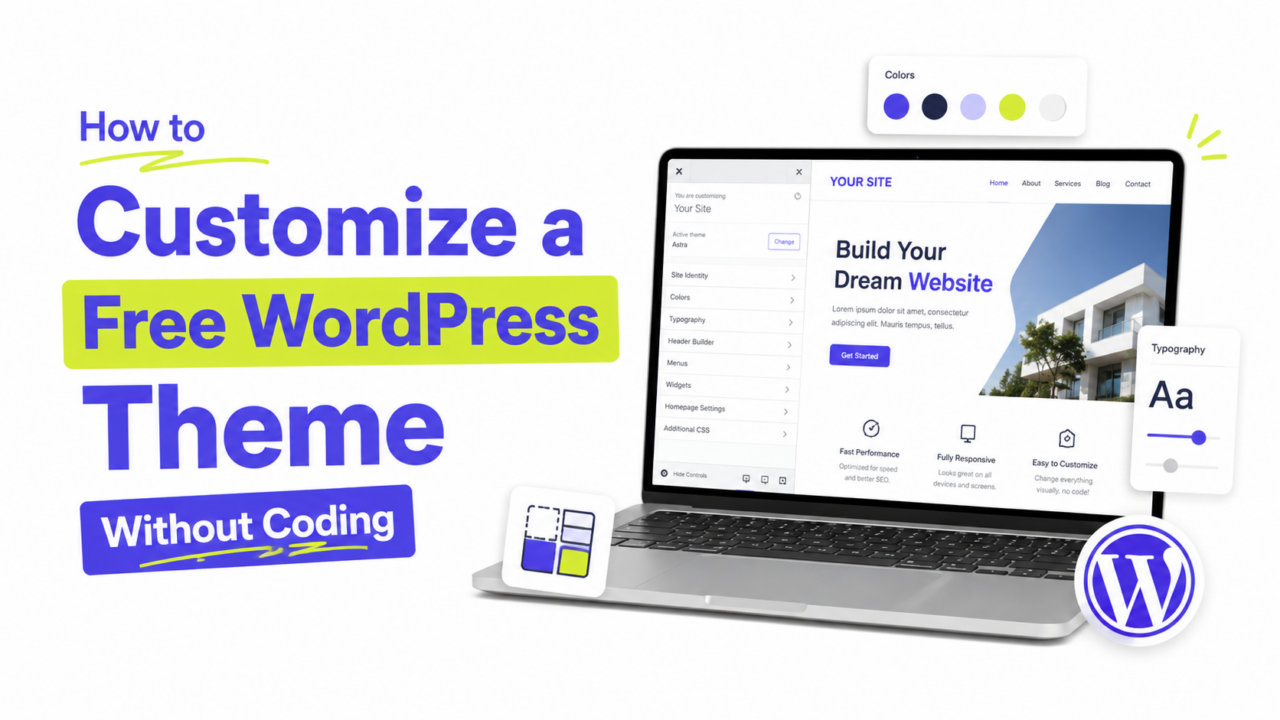
New to WordPress? You might want our guide on customizing a free theme without code first, since your menu is one piece of that bigger picture.
Where to Add a Menu in WordPress
Before you start, a quick check that saves a lot of confusion. Which menu editor you use depends on your theme, so look at your Appearance menu in the dashboard:
- See “Menus”? You have a classic theme (like Astra, GeneratePress, or OceanWP). Edit at Appearance → Menus. This is the guide below.
- See “Editor” but no “Menus”? You have a block theme (like Twenty Twenty-Five). Menus are handled by the Navigation block in the Site Editor instead, skip to the block theme note below.
- See both? Your theme supports both systems. Pick one and stick with it.
This trips up a lot of people in 2026. On block themes, the old Menus screen simply doesn’t exist anymore, so if you can’t find it, you’re not missing anything, your theme just uses a different system.
For classic themes, you actually have two ways in, and both reach the same result:
- Appearance → Menus is the classic drag-and-drop editor, and the one I’ll use for the steps below.
- Appearance → Customize → Menus does the same job with a live preview on the side.
For block themes, go to Appearance → Editor, open the template that holds your header, and select the Navigation block. From there you add, remove, and reorder links right in the Site Editor, with a live preview as you go. The core idea is identical to the steps below, only the screen looks different.
Step 1: Create Your Menu
Let’s build one from scratch.
- Go to Appearance → Menus.
- Click Create a new menu (you’ll see this if it’s your first one).
- Give it a name you’ll recognize later, like “Main Menu.” This name is just for you, visitors never see it.
- Click Create Menu.
That’s your empty menu ready to fill.
Step 2: Add Items to Your Menu
Now let’s put things in it. On the left, you’ll see boxes for Pages, Posts, Custom Links, and Categories.
- Tick the boxes next to the pages you want (like Home, About, Blog, Contact). Don’t have a contact page yet? Here’s how to add a contact form in WordPress first.
- Click Add to Menu. They’ll appear in the menu structure on the right.
- To add something that isn’t a page, use Custom Links, paste any URL, give it a label, and add it.
If you don’t see all your options, click Screen Options at the top right and enable them.
Haven’t built your pages yet? You’ll want to create them under Pages → Add New first, then come back here. Setting up your front page is a good place to start, and our guide on setting up a homepage in WordPress walks you through it.
Step 3: Reorder and Create Dropdowns
Here’s where it gets satisfying. You can drag menu items into any order you like.
- Reorder: click and drag an item up or down.
- Create a dropdown: drag an item slightly to the right so it sits underneath and indented below another item. That nests it as a submenu, which appears as a dropdown on your live site.
Dropdowns are great for grouping related pages (say, several service pages under one “Services” heading) without cluttering your main bar.
Step 4: Assign a Menu Location
This step trips up a lot of beginners. Building a menu isn’t enough, you have to tell WordPress where to display it.
Scroll down to Menu Settings and look for Display location. Your theme decides what locations are available, but you’ll usually see options like:
- Primary or Header (your main navigation bar at the top)
- Footer (a secondary menu at the bottom)
- Social (some themes offer a spot for social icons)
Tick the location you want, then click Save Menu. Visit your site and your menu is live.
Step 5: Check It on Mobile
Your menu might look perfect on a desktop and cramped on a phone. On mobile, most themes collapse your menu into a “hamburger” icon (the three little lines), which is exactly what you want.
Preview your site on a phone to make sure the menu opens and closes smoothly. If it feels awkward, our guide on making your theme mobile-friendly covers the fixes.
Tips for a Menu People Actually Use
A menu isn’t just about adding links, it’s about helping people find things fast. A few habits make a big difference:
- Keep it short. Five to seven top-level items is the sweet spot. More than that and people stop scanning.
- Use clear labels. “Services” beats “What We Do.” Plain words win.
- Put the important stuff first. People notice the first and last items most.
- Move minor links to the footer. Privacy policy, terms, and the like belong at the bottom, not the top.
- Don’t bury key pages. If a page matters, don’t hide it three dropdowns deep.
For the official reference, WordPress has its own menus user guide worth bookmarking.
A Few Common Questions
1. Why isn’t my menu showing up on my site? On a classic theme, it’s almost always because you didn’t assign a display location. Go to Appearance → Menus, scroll to Menu Settings, tick a location like “Primary,” and save. On a block theme, make sure you added and saved the Navigation block in the Site Editor.
2. How do I make a dropdown menu? Drag a menu item slightly to the right so it nests underneath another item. That creates a submenu, which displays as a dropdown on your live site.
3. Can I have more than one menu? Yes. You can create several menus and assign each to a different location, like one for your header and another for your footer.
4. How do I add a link to an external website? Use the Custom Links box in the menu editor. Paste the full URL, add a label, and click “Add to Menu.”
Guide Your Visitors Well
A confusing menu is also one of the more common WordPress web design mistakes worth avoiding. Learning to add a menu in WordPress is one of those tasks that feels technical until you do it once, and then it’s easy forever. Create the menu, add your items, arrange them, and assign a location. That’s the whole job.
Keep it short and clear, check it on mobile, and your menu will do exactly what it’s meant to: guide visitors to the content that keeps them on your site.