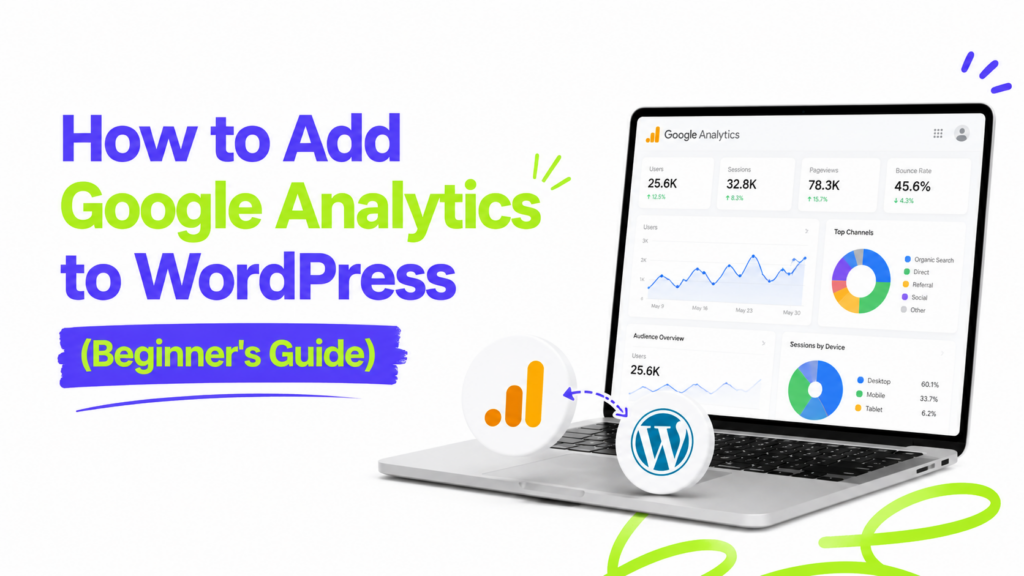
You can’t improve what you don’t measure. Google Analytics tells you how many people visit your site, where they come from, which posts they love, and where they leave, and all of that is gold when you’re trying to grow a blog. Best of all, it’s completely free.
The catch? Setting it up can feel intimidating the first time, especially with Google’s newer GA4 version. Don’t worry. In this guide, I’ll show you three ways to add Google Analytics to WordPress, from the easiest plugin method to a lightweight manual option. Pick the one that fits you, and you’ll be tracking visitors today.
If you’re building out your site’s foundations, our guide on setting up a homepage in WordPress pairs well with this.
Before You Add Google Analytics to WordPress: Set Up an Account
Before connecting anything, you need a GA4 property (GA4 is the current version of Google Analytics, and the only one available for new sites).
- Go to the Google Analytics website and sign in with your Google account.
- Click Start measuring and create an account name.
- Set up a property for your site: enter a name, then choose your time zone and currency.
- Add a web data stream with your site’s URL.
- Google gives you a Measurement ID (it looks like
G-XXXXXXXXXX). Keep this handy, you’ll need it for some methods.
Now let’s connect it to WordPress.
Method 1: Site Kit by Google (Best for Beginners)
If you want the official, free, no-code route, this is it. Site Kit by Google is Google’s own WordPress plugin, and it connects Google Analytics, Search Console, PageSpeed Insights, and AdSense in one dashboard. That AdSense connection makes it especially handy if you’re planning to monetize with an AdSense-friendly theme.
- In WordPress, go to Plugins → Add New.
- Search for Site Kit by Google, then install and activate it.
- Go to the new Site Kit menu and click Connect to sign in with your Google account.
- Follow the prompts to link Analytics. Site Kit inserts the tracking code for you automatically, no editing files.
Once connected, you can view basic reports right inside your WordPress dashboard under the Site Kit menu. For a beginner, it’s hard to beat.
Method 2: MonsterInsights (Richest In-Dashboard Reports)
If you want more detailed analytics without ever leaving WordPress, MonsterInsights is the most popular dedicated analytics plugin, with over 3 million active installs. It has a free version that covers the essentials.
- Go to Plugins → Add New, search for MonsterInsights, then install and activate it.
- A setup wizard launches automatically. Click Connect MonsterInsights and authenticate with your Google account.
- Choose your GA4 property, and the wizard wires everything up.
MonsterInsights then shows clean, readable reports under an Insights menu in your dashboard. The free version handles page views, sessions, and traffic sources. Its Pro tier (around $99/year) adds e-commerce and form tracking, but you don’t need that to start.
A quick heads-up: don’t run two analytics plugins at once. Using both Site Kit and MonsterInsights, for example, can double-count your visitors and inflate your numbers. Pick one.
Method 3: Add the Tracking Code Manually (Lightest Option)
Prefer to avoid an extra plugin entirely? You can paste your GA4 tracking code yourself. This is the lightest option since it adds no plugin weight, though it’s slightly more hands-on.
The cleanest way to do this without editing theme files directly is a small header plugin. The most popular is WPCode (formerly “Insert Headers and Footers”), which gives you a safe box to paste tracking code into:
- Install and activate WPCode (or a similar header-insertion plugin).
- In your GA4 property, go to Admin → Data Streams, click your stream, and copy the tracking code under “Installation instructions.”
- In WPCode, paste that code into the header section and save.
That’s it. The code now loads on every page, and you’ve kept your site lean.
Avoid pasting the code directly into your theme’s files if you can. If you switch or update your theme later, you’d lose it, which is exactly the kind of headache a header plugin avoids. If you do want to edit theme files safely, do it through a child theme instead.
How to Confirm It’s Working
Don’t just assume it’s tracking, check. This takes 30 seconds:
- Open your GA4 property and go to the Realtime report.
- In another browser tab, visit your own site.
- You should see 1 active user (that’s you) appear within a few seconds.
If you see yourself, tracking is live. If not, revisit your setup, the most common cause is a tracking code that didn’t save.
A Couple of Smart Settings
Two quick tweaks make your data more useful from day one:
- Extend data retention. By default, GA4 keeps user data for only 2 months. Go to Admin → Data Settings → Data Retention and change it to 14 months.
- Link Google Search Console. Connecting it (easy through Site Kit) unlocks keyword and search-performance data alongside your analytics.
Keep an Eye on Speed
Analytics plugins are lightweight, but every plugin adds a little to your load time. If you’re running several, it’s worth checking your site stays fast. Our guide on speeding up a free WordPress theme shows you how.
A Few Common Questions
1. Do I need a plugin to add Google Analytics? No. A plugin like Site Kit or MonsterInsights makes it far easier, but you can paste the GA4 tracking code manually using a header plugin like WPCode. Both approaches track equally well.
2. What’s the easiest way for a beginner? Site Kit by Google. It’s free, official, requires no code, and shows reports right inside WordPress. For most new site owners, it’s the fastest path.
3. Why isn’t my Google Analytics showing data? Realtime data appears within seconds, but standard reports take 24 to 48 hours to populate for the first time. If Realtime shows nothing when you visit your site, your tracking code likely isn’t installed correctly.
4. Is Google Analytics free? Yes. The standard version (GA4) is completely free and more than enough for blogs and small businesses. Only large enterprises need the paid Analytics 360 tier.
Start Tracking, Start Growing
To add Google Analytics to WordPress is one of the highest-value things you can do for your site, and it’s free. For most people, Site Kit by Google is the easiest way in: install it, connect your Google account, and you’re tracking visitors with reports inside your dashboard.
Once it’s running, give it a day or two to gather data, then start exploring. Seeing which posts people actually read, and where they come from, is the first real step toward growing your traffic on purpose instead of by luck. And to get those posts found in the first place, see how to index your blog on Google faster.